
Have you ever wished you had a stylus for your smartphone or tablet but didn’t want to spend money on one? You’re in luck. Making your own DIY stylus is surprisingly simple, and you probably already have the materials at home. Whether you want to draw more precisely, avoid fingerprints on your screen, or just enjoy a fun craft project, a homemade stylus can be just as effective as a store-bought one. In this guide, we’ll walk you through three reliable methods using items like aluminum foil, sponges, cotton swabs, and conductive fabric. Each method works on capacitive touchscreens, which are used by most modern devices. Let’s get started and create a stylus that works perfectly with your phone or tablet.
Materials and Tools
Before diving into the methods, gather the basic materials. Most of these are household items. For all methods, you’ll need a pen or pencil (preferably with a removable cap or hollow body) as a handle. You’ll also need aluminum foil, a small piece of sponge, a cotton swab, scissors, tape (electrical or duct tape works best), and optionally conductive fabric or an anti-static bag. If you want a more precise tip, you can also use a metal pen cap or a paper clip. The key is to have a conductive material that transfers the electrical charge from your finger to the screen. Keep in mind that the stylus tip must be soft to avoid scratching your screen.
Method 1: Sponge and Aluminum Foil Stylus
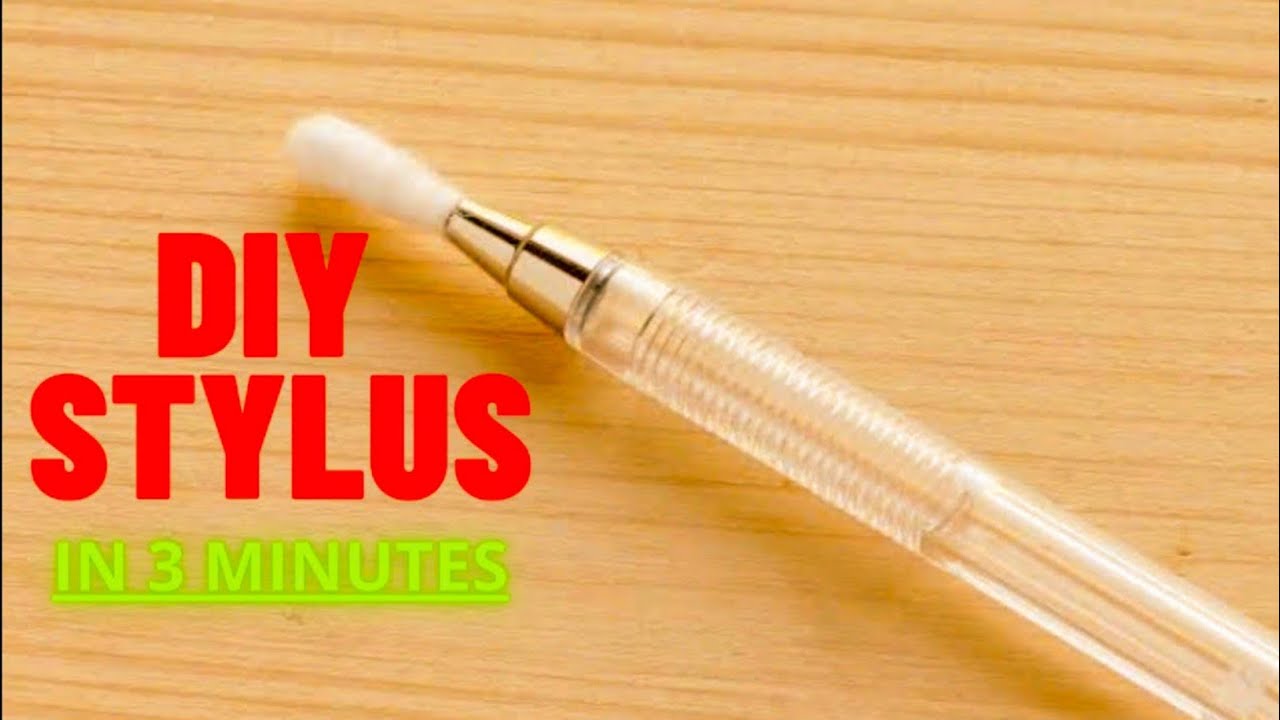
This is one of the easiest and most effective methods. Start by taking a pen and removing the ink cartridge and spring, leaving just the hollow tube. Cut a small piece of sponge (about 1 inch long) and insert it into the pen tip so that a small portion sticks out. Wrap the entire pen body with aluminum foil, making sure the foil is in contact with the sponge at the tip. The foil should extend up the pen so that your hand touches the foil while holding it. This completes the circuit. Test the stylus on your device: the sponge tip should glide smoothly and register touch. If it doesn’t work, ensure the foil is firmly touching the sponge and that your skin is contacting the foil. For better conductivity, dampen the sponge slightly (not wet) with water. This method produces a soft tip that mimics a finger nicely.
Method 2: Cotton Swab and Pen Stylus
Another quick method uses a cotton swab (Q-tip) and a pen. Remove the internal parts of a pen to create a hollow tube. Cut the cotton swab in half and insert the stick into the pen tip so the cotton end sticks out. Wrap the pen body with aluminum foil, ensuring the foil contacts the cotton. To improve conductivity, you can wet the cotton tip with a tiny amount of water (squeeze out excess). The damp cotton conducts electricity well. Alternatively, you can skip the foil by using a metal pen body, but foil is simpler. Test the stylus: the cotton tip should work on the touchscreen. Note that the cotton may dry out, so re-moisten occasionally. This method is great for precise tapping but less ideal for drawing due to the small tip size.
Method 3: Conductive Fabric Stylus
For a more durable and professional option, use conductive fabric. You can buy conductive fabric sheets online or cut up an anti-static bag. Take a pen or pencil and wrap the tip with a small piece of conductive fabric, securing it with tape or a rubber band. Then wrap the entire pen body with aluminum foil, making sure the foil touches the fabric. Alternatively, you can use a conductive thread wrapped around the pen. The fabric provides a smooth, consistent touch. This method mimics the feel of a real stylus and lasts longer than sponge or cotton. Test it: you may need to apply a bit more pressure than with other methods. This is ideal for artists who need precision.
Tips for a Better DIY Stylus
To get the most out of your homemade stylus, consider these tips. First, always ensure good electrical contact between your hand and the conductive part (foil or metal). If the stylus stops working, check the foil connection. Second, keep the tip slightly damp for better conductivity, but not wet enough to drip. Third, shape the tip to your liking: a pointed tip is better for writing, while a rounded tip suits drawing. Fourth, use a metal pen body if possible, as it eliminates the need for foil wrapping. Finally, test the stylus on a small area of the screen first to ensure it doesn’t scratch. With a little tweaking, you can create a stylus that works as well as a commercial one.
Troubleshooting Common Issues
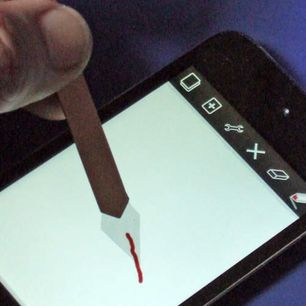
If your DIY stylus isn’t working, don’t worry. Here are common problems and fixes. The screen doesn’t respond: likely a lack of conductivity. Ensure your hand touches the foil or metal part of the stylus. If the tip is too dry, moisten it. If the tip is too large, trim it. The stylus works only sometimes: the connection may be loose. Tighten the foil or tape. The screen registers erratic touches: the tip might be too conductive or too wet. Dry it slightly. The stylus scratches the screen: the tip material is too hard. Switch to a softer material like sponge or fabric. For best results, avoid sharp edges and test on a screen protector first.
Frequently Asked Questions
Does a DIY stylus work on all touchscreens?
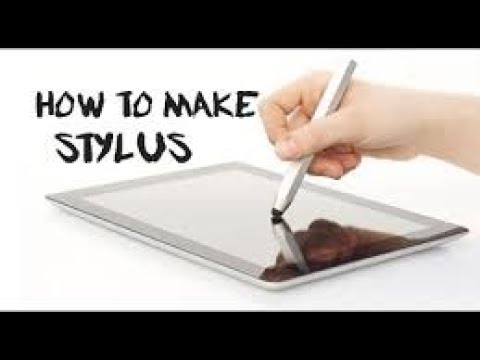
These methods work on capacitive touchscreens (smartphones, tablets, most modern laptops). They will not work on resistive touchscreens (rare today) unless you apply pressure. For older devices, check your screen type.
Can I use a pencil or paperclip as a stylus?
A bare pencil or paperclip will not work because they are not conductive enough and may scratch the screen. However, wrapping them with foil or attaching a conductive tip can work.
How do I make a stylus for an iPad?
The same methods work for iPads and iPhones. Use a soft tip to avoid damaging the screen. For Apple Pencil-like precision, consider using a conductive fabric tip.
Is it safe to use a homemade stylus?
Yes, as long as you avoid sharp materials and ensure the tip is soft. Always test on a small area. Avoid wetting the tip excessively to prevent liquid damage.
Can I make a stylus without foil?
Yes, if you have a metal pen body, you can skip foil. Alternatively, use conductive tape or wrap the pen with a conductive thread.
Now you have the knowledge and tools to create your own DIY stylus. Whether you choose the sponge, cotton swab, or conductive fabric method, each offers a practical solution for precise touchscreen input. Experiment with different materials to find what works best for your device and needs. Not only is making a stylus cost-effective and environmentally friendly, but it also gives you a sense of accomplishment. So grab your supplies, follow the steps, and enjoy a custom stylus that fits your hand perfectly. Your touchscreen will thank you.